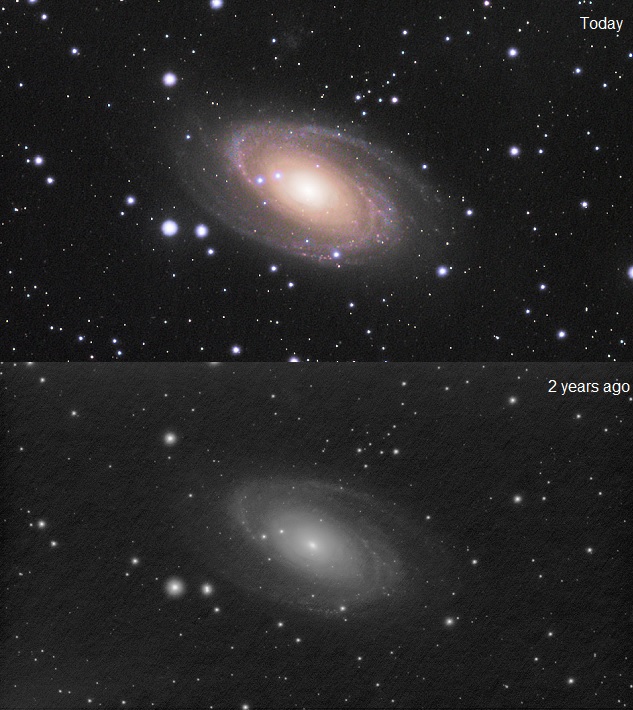
What a difference two years makes
I am writing to affirm that progress is inevitable but only with heaps of patience and experimentation.
Two years ago I had the same telescope as today. So what’s the difference? The camera, but not what you think. It was how I was using it.
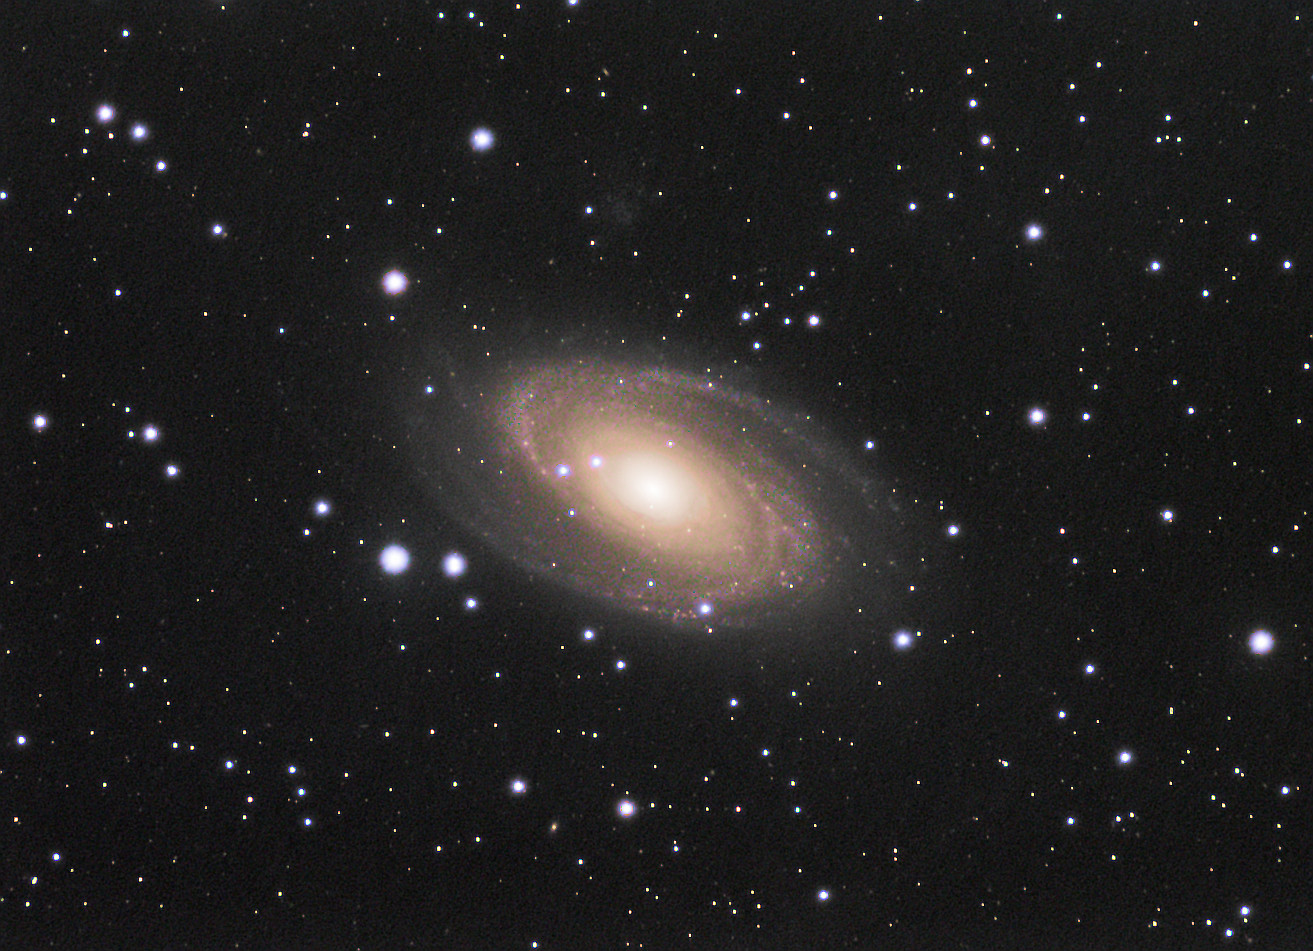
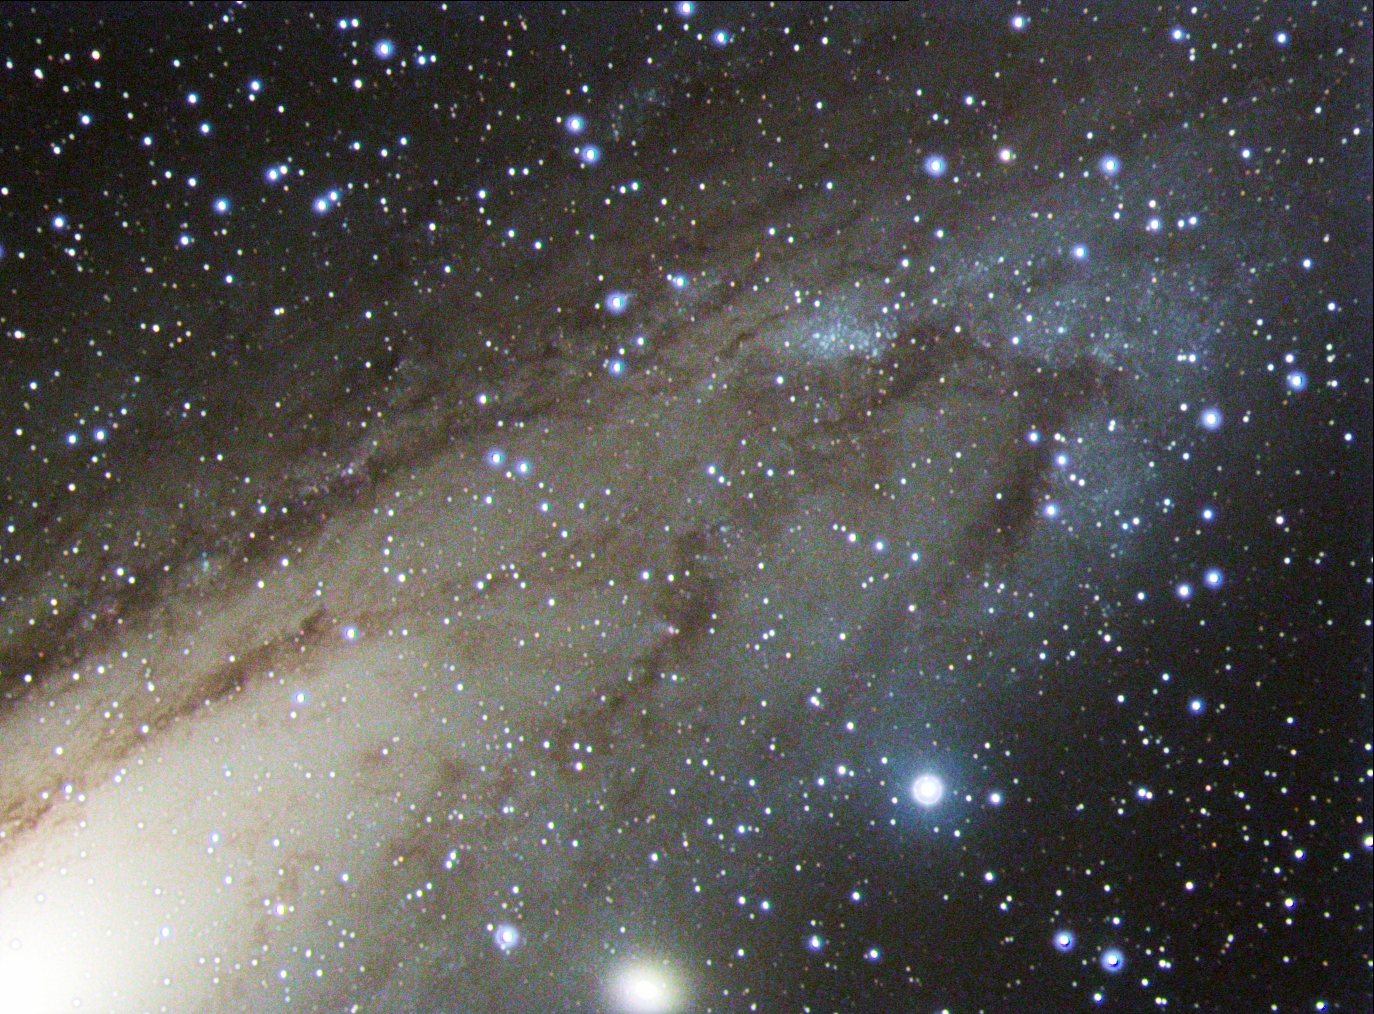
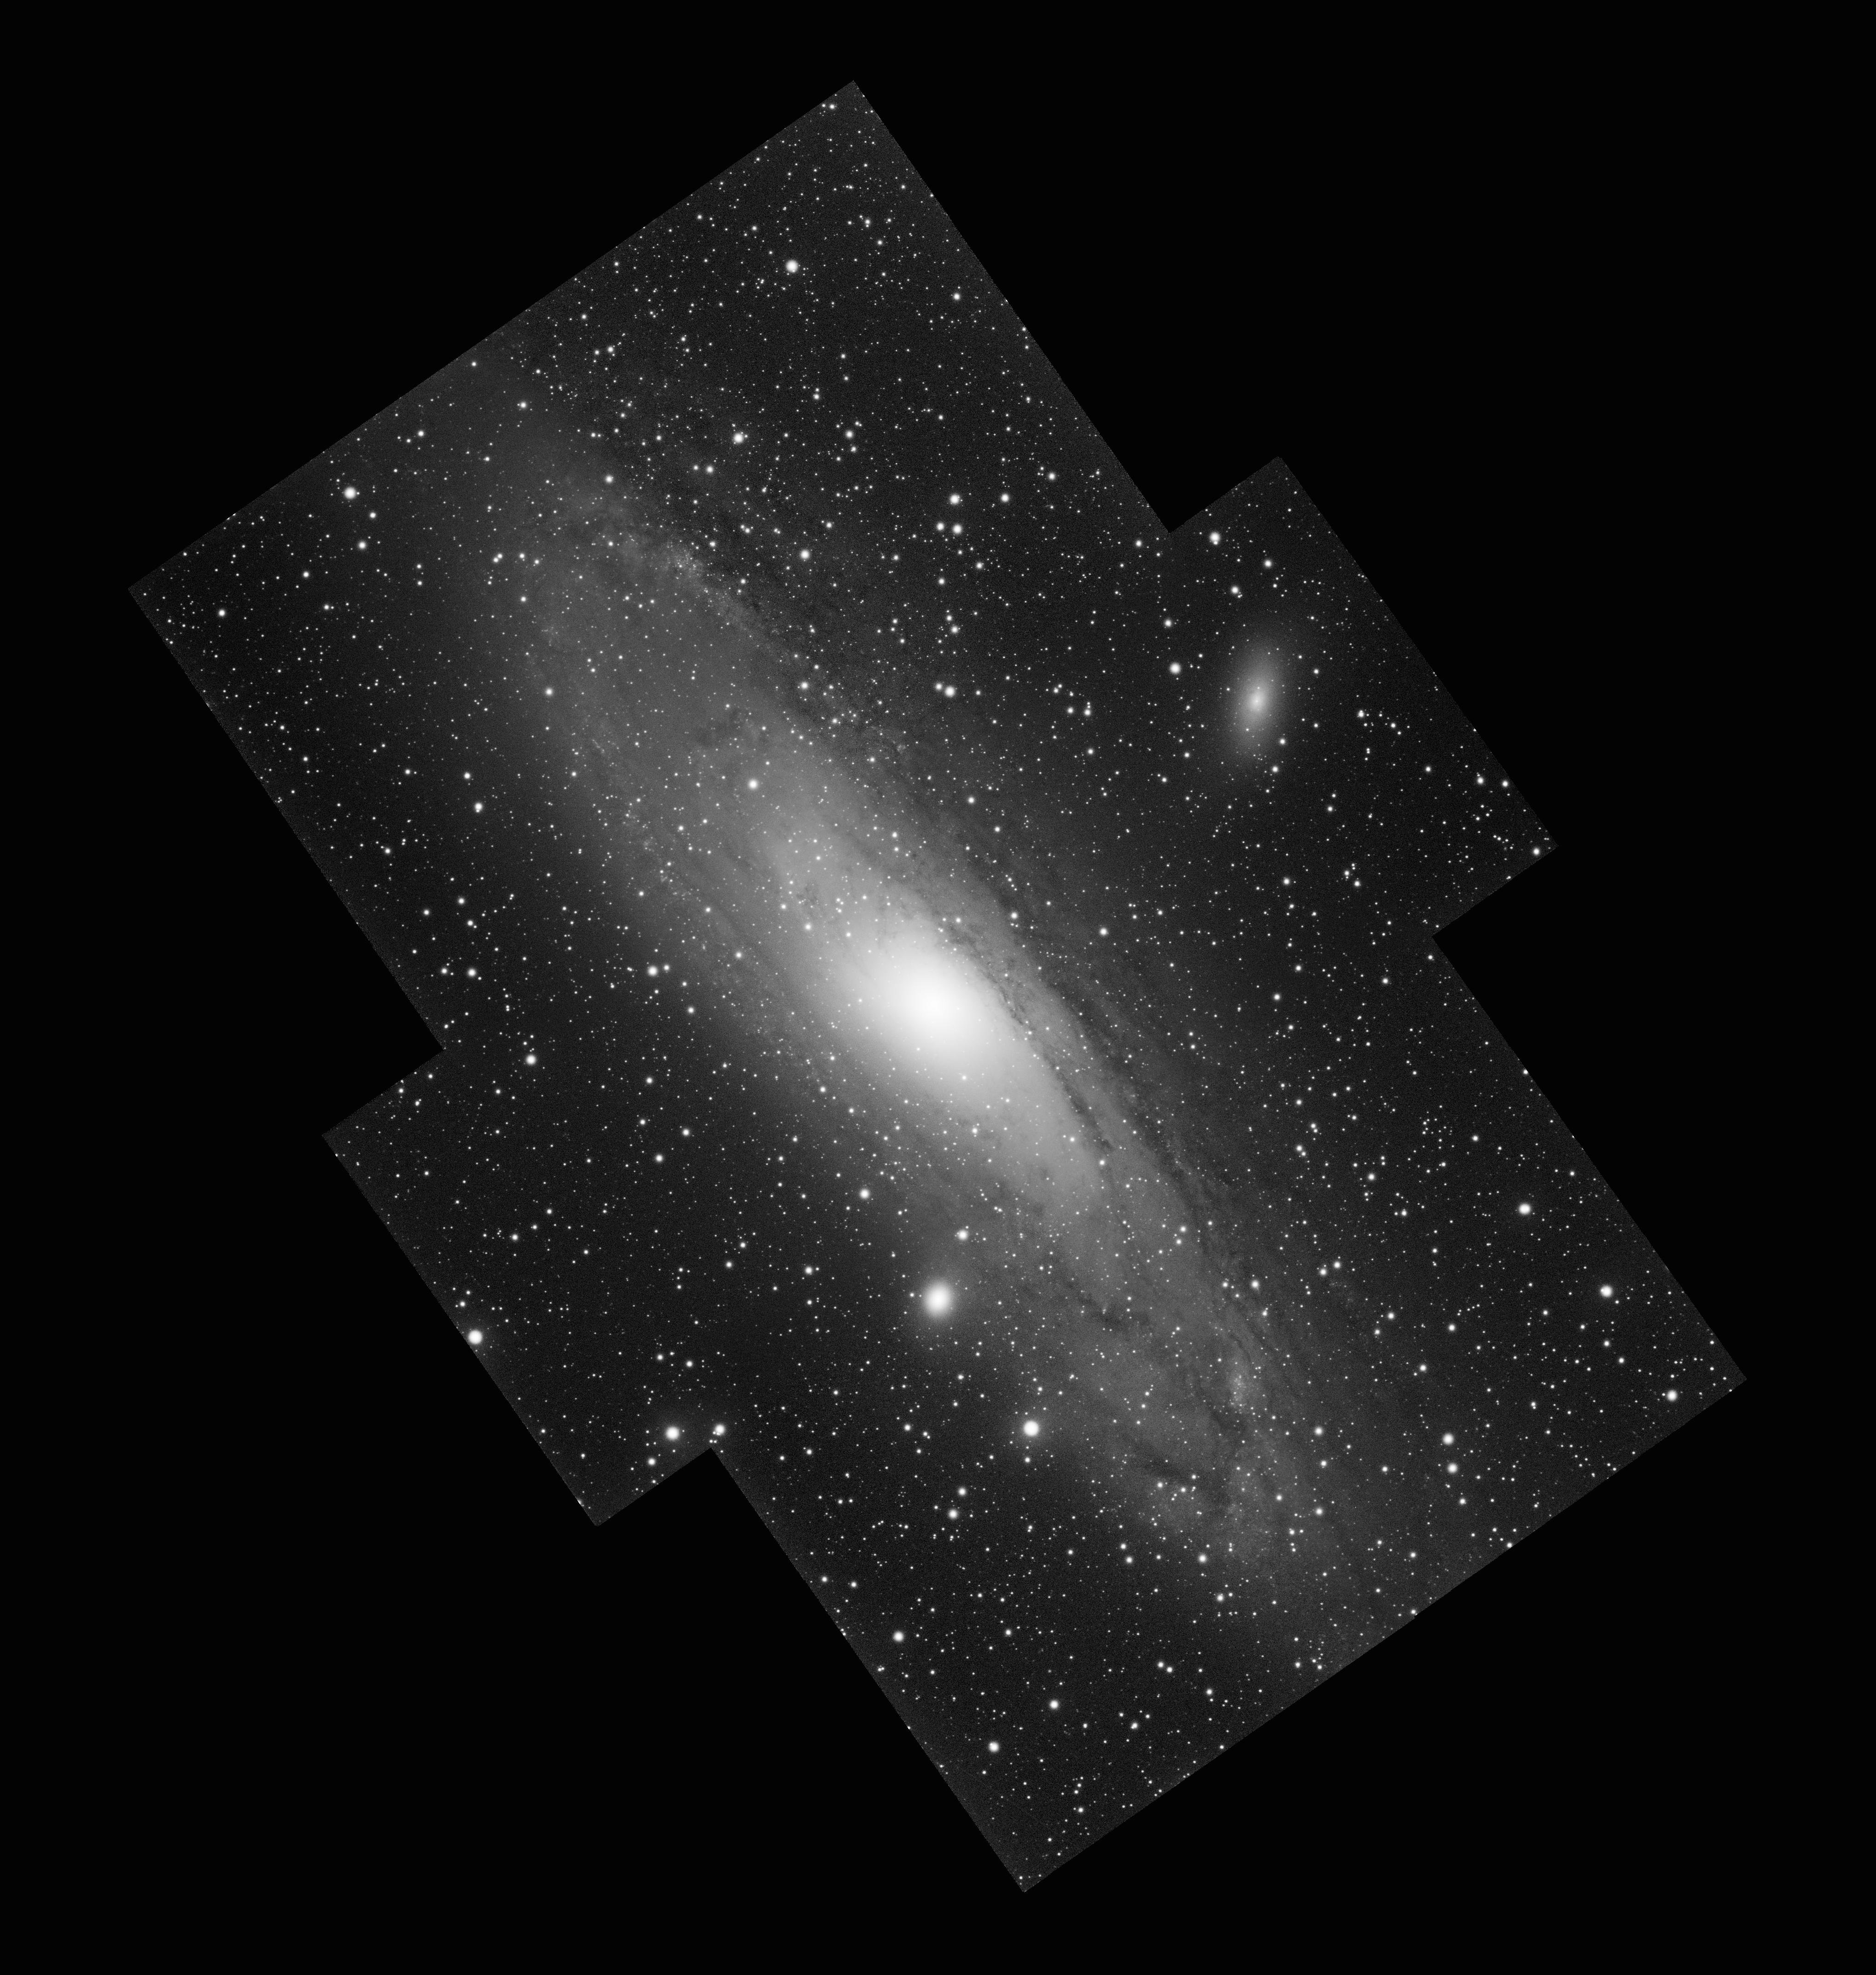
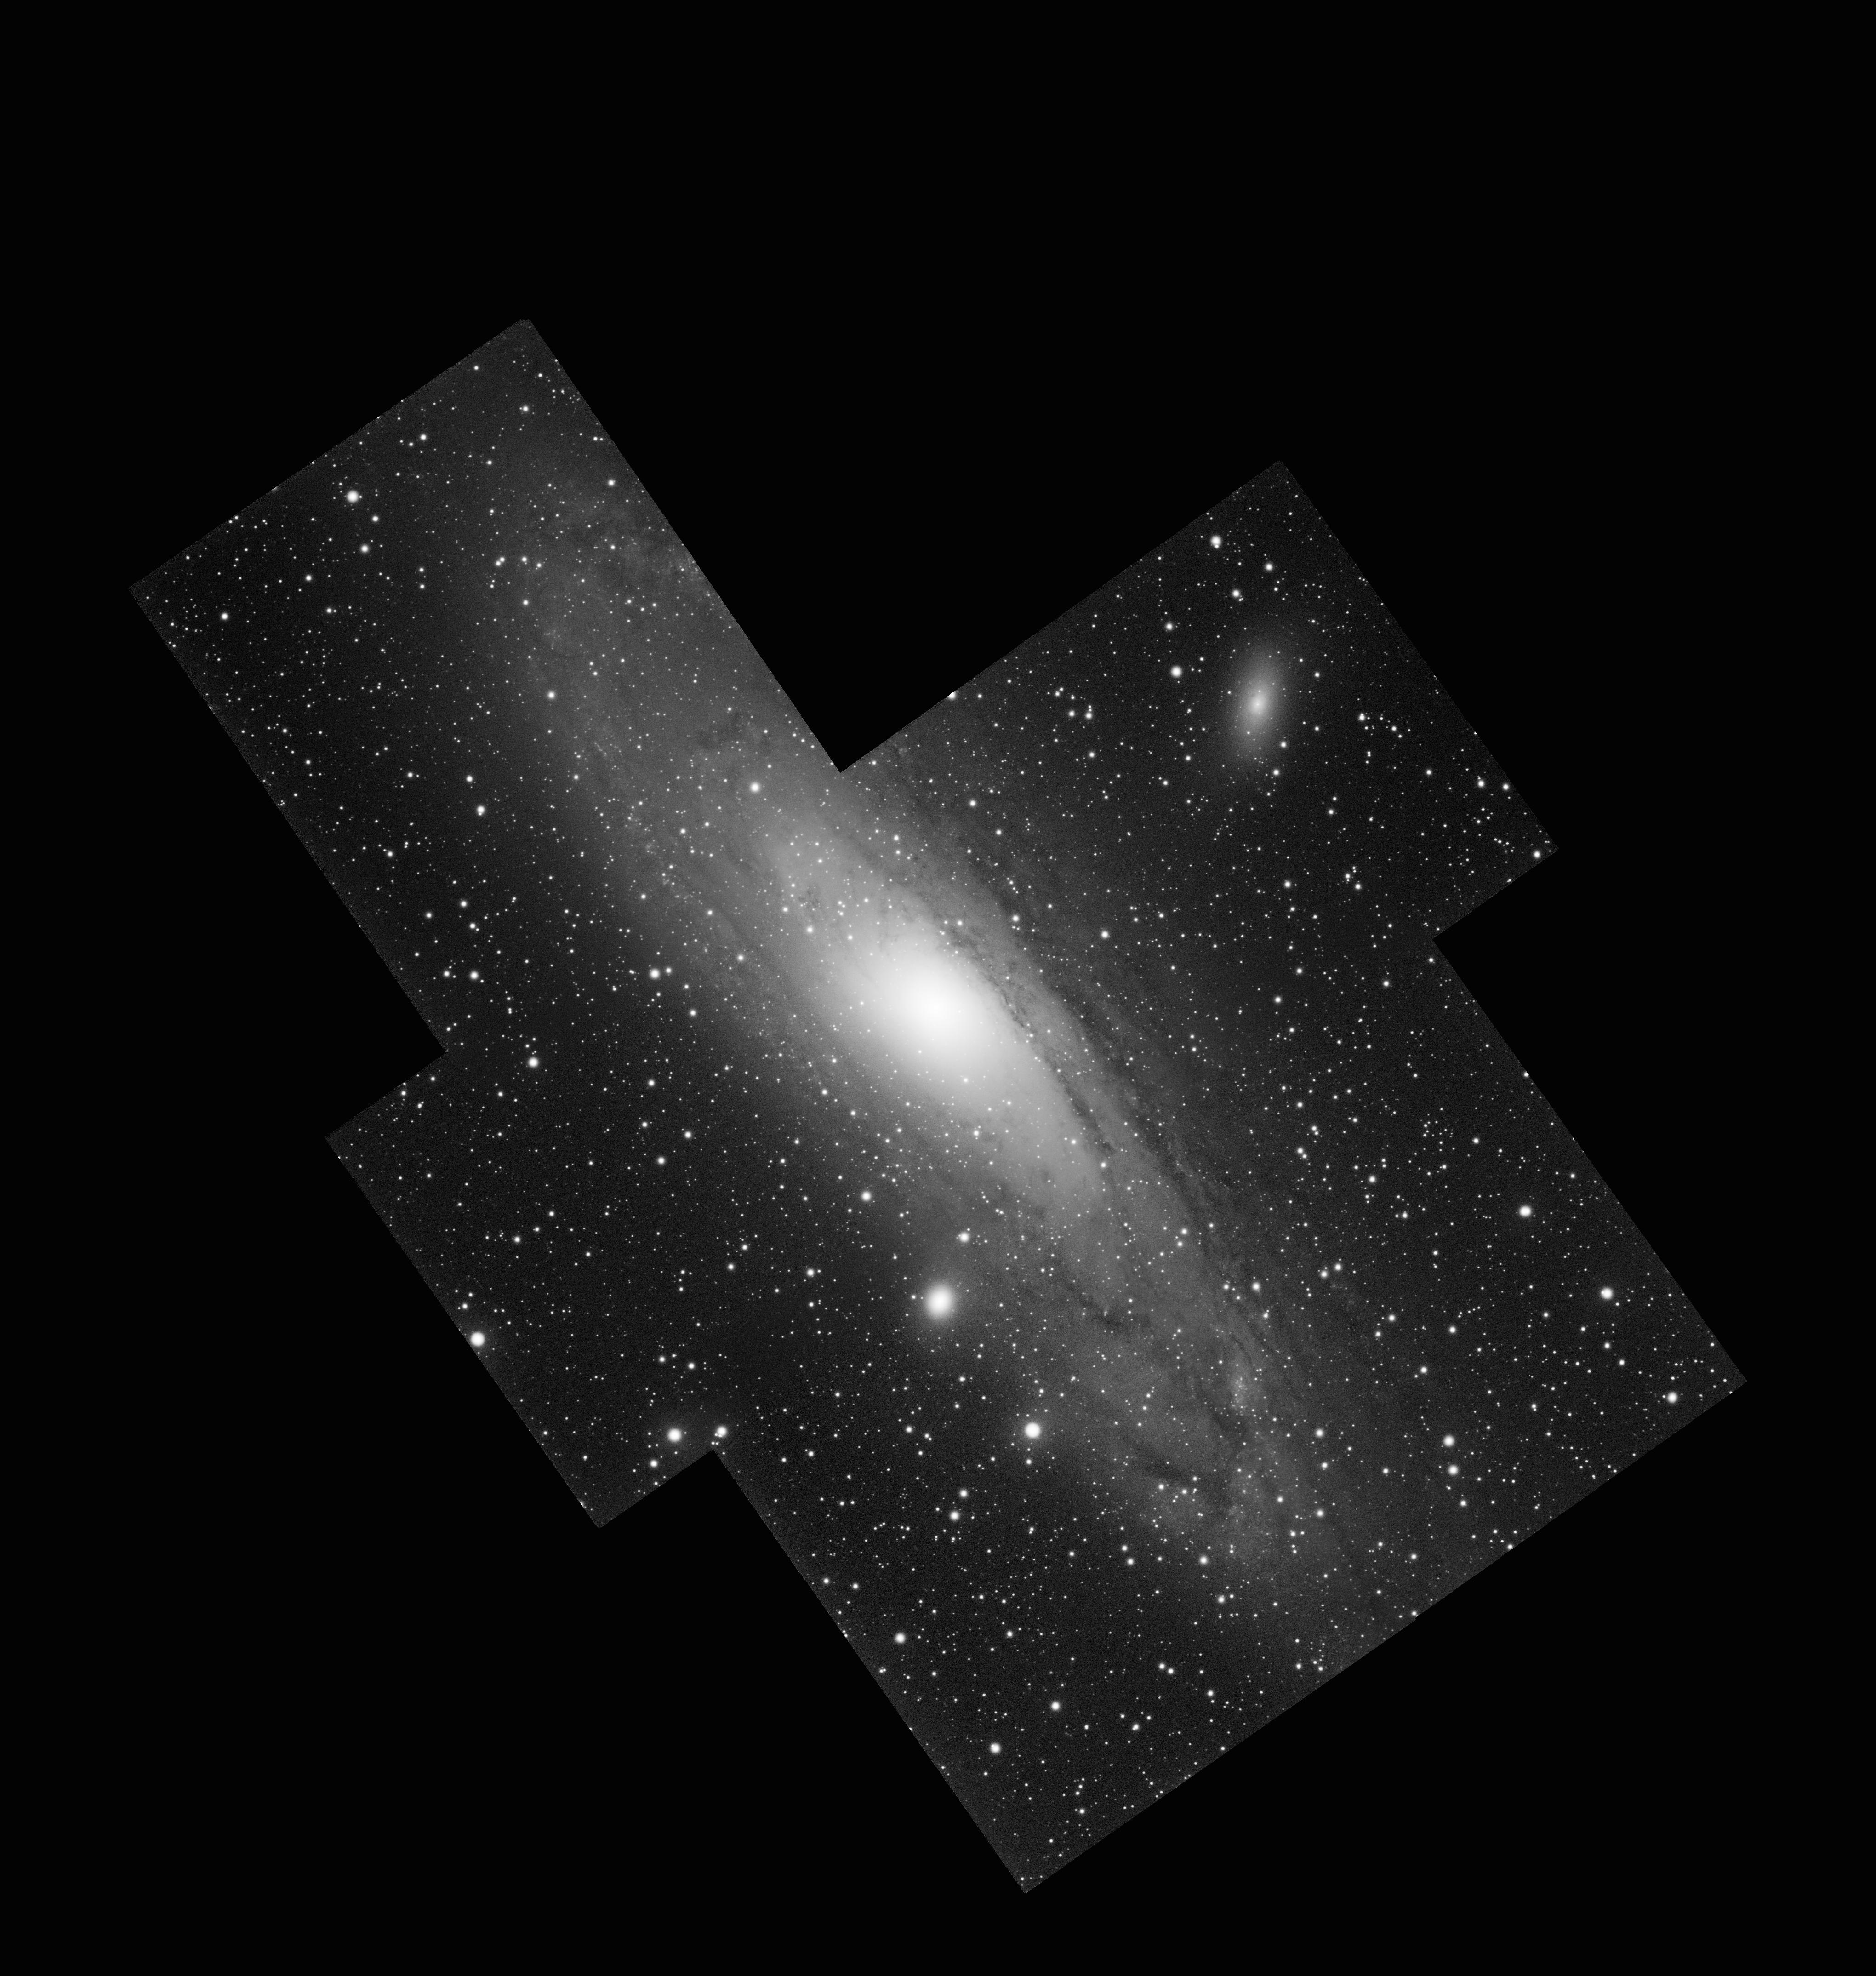
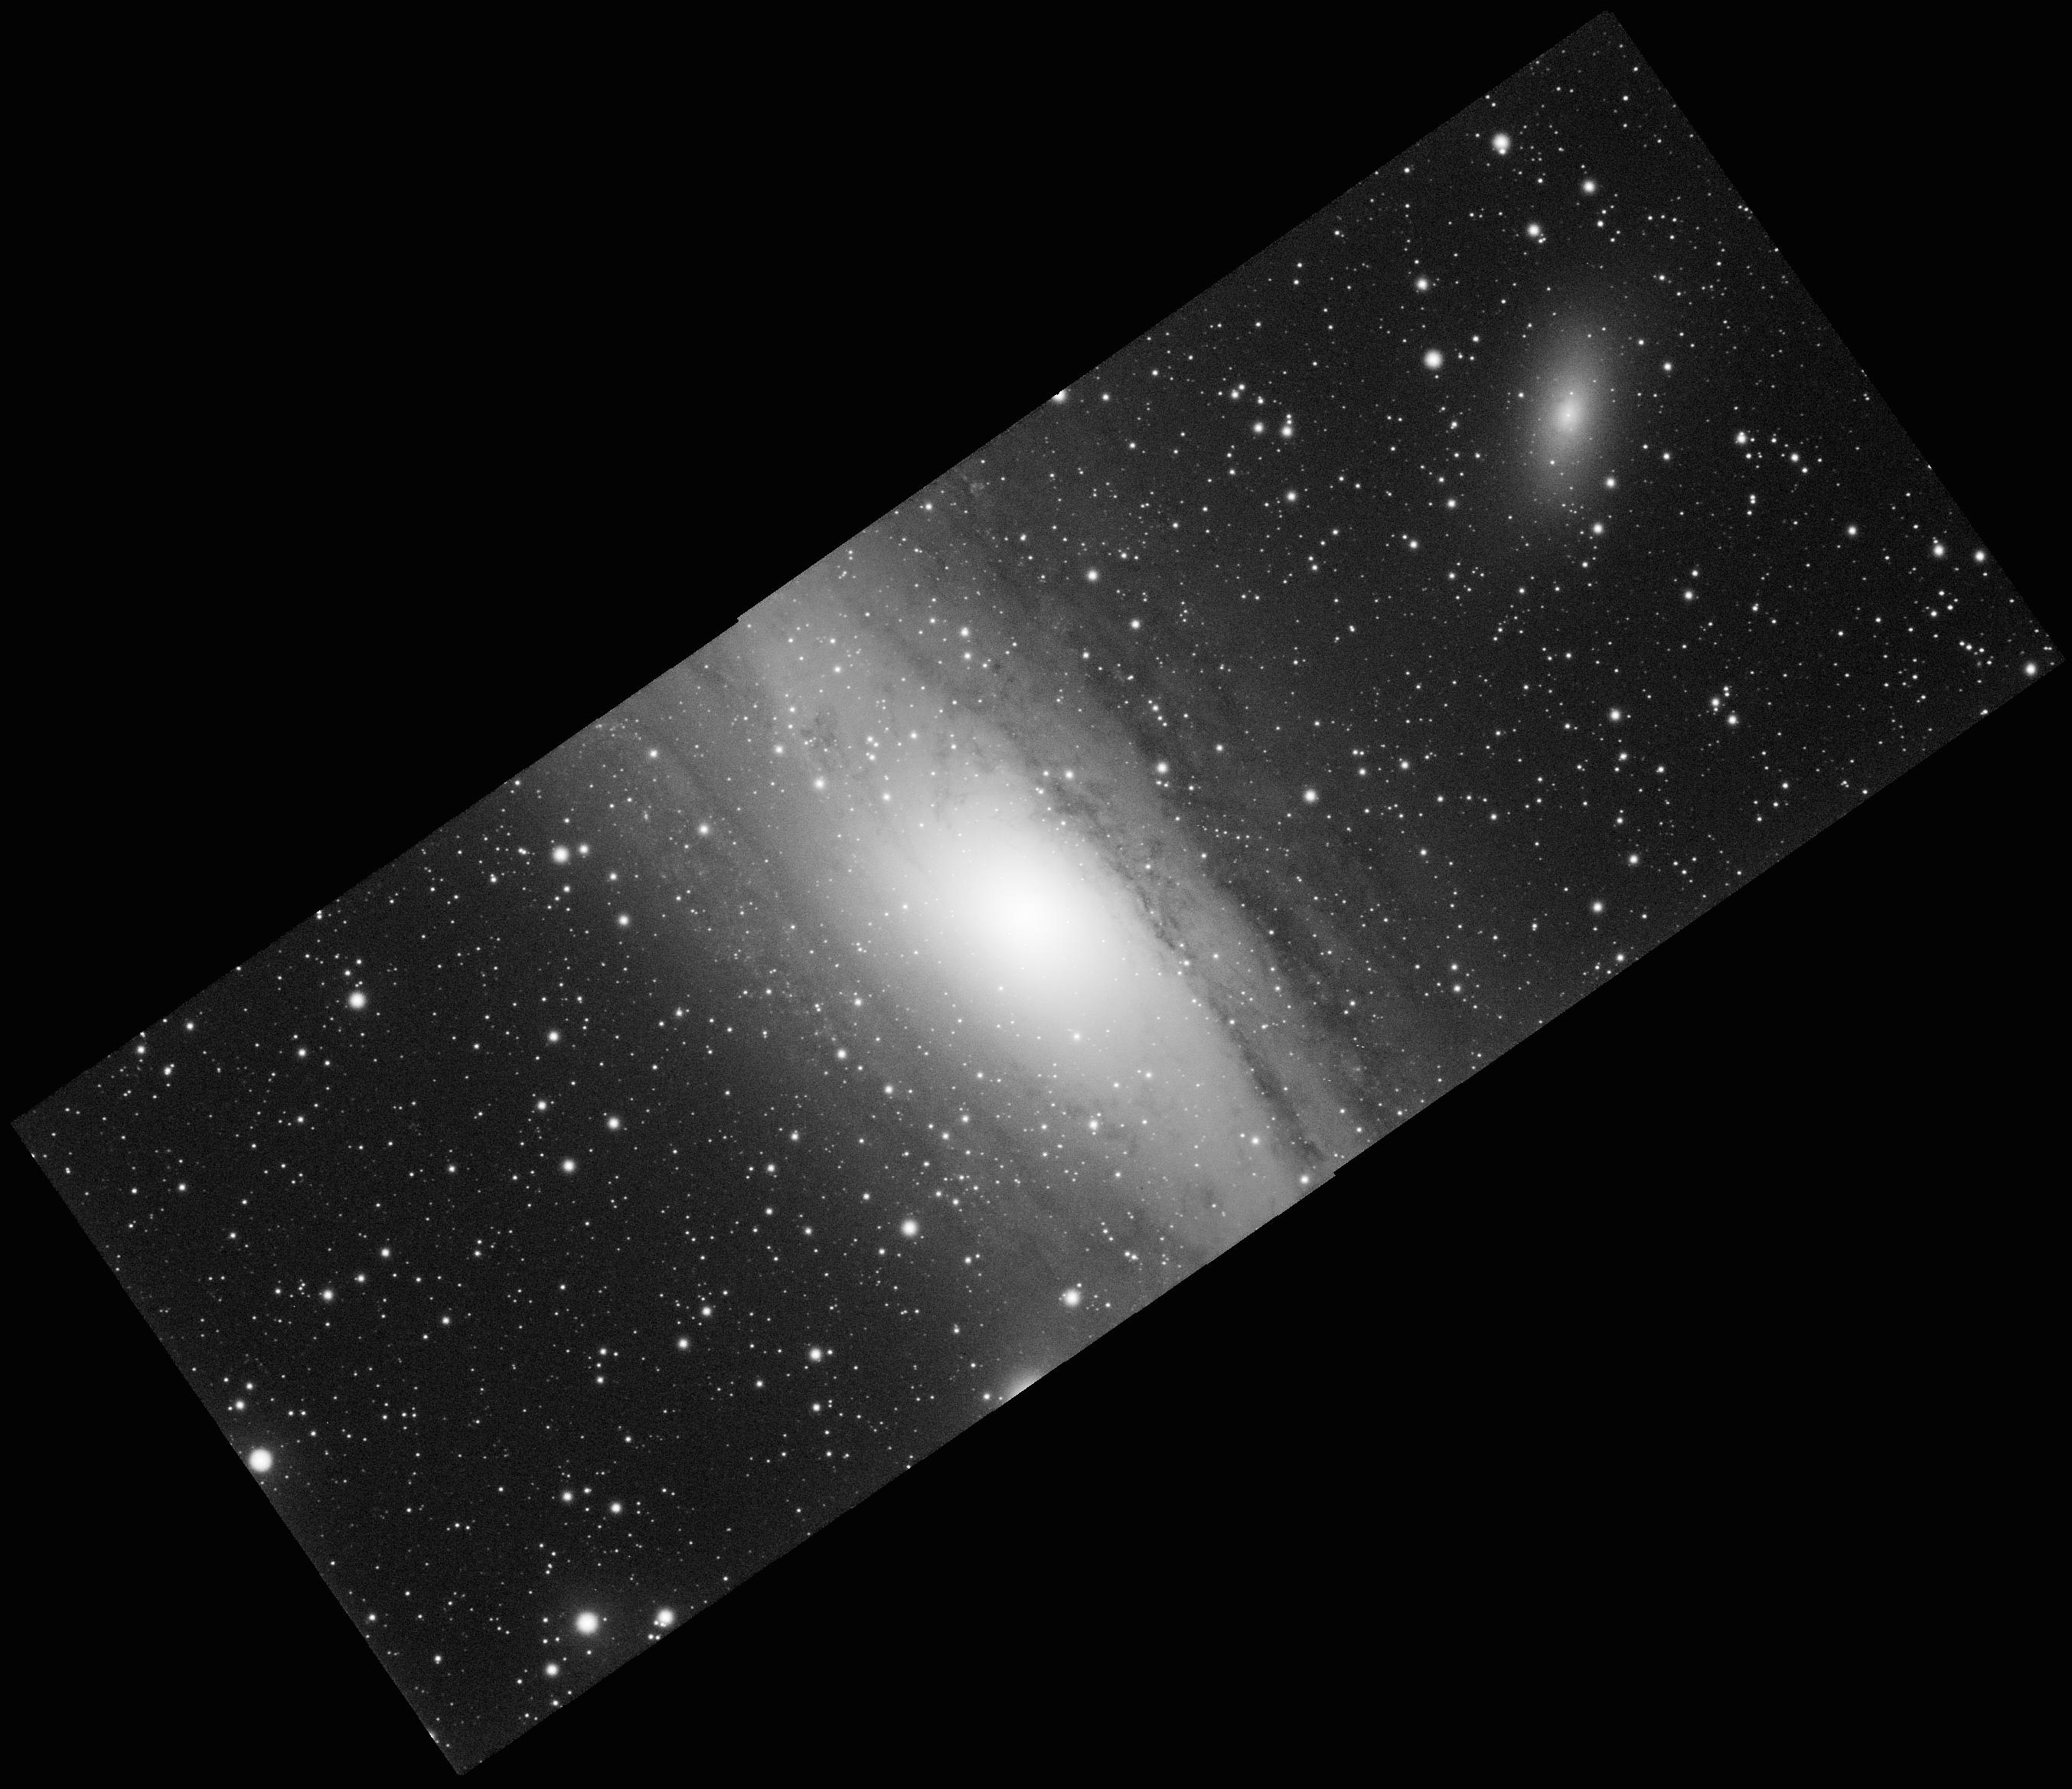
The top image, the one in color, was taken with the Atik 314E CCD, and the bottom image with the Altair 290M CMOS camera.
Don’t get me wrong. I’m not making a pitch for CCD over CMOS. I am saying that the exposure you choose makes all the difference in the world.
The bottom image used the subframe exposure of 4.7 seconds. Total integration time was 60 minutes. It may not be clear in this small image but it suffered from a severe case of “raining noise”. This was a common ailment of my early images. Without going into a lengthy explanation the cure was to increase the exposure.
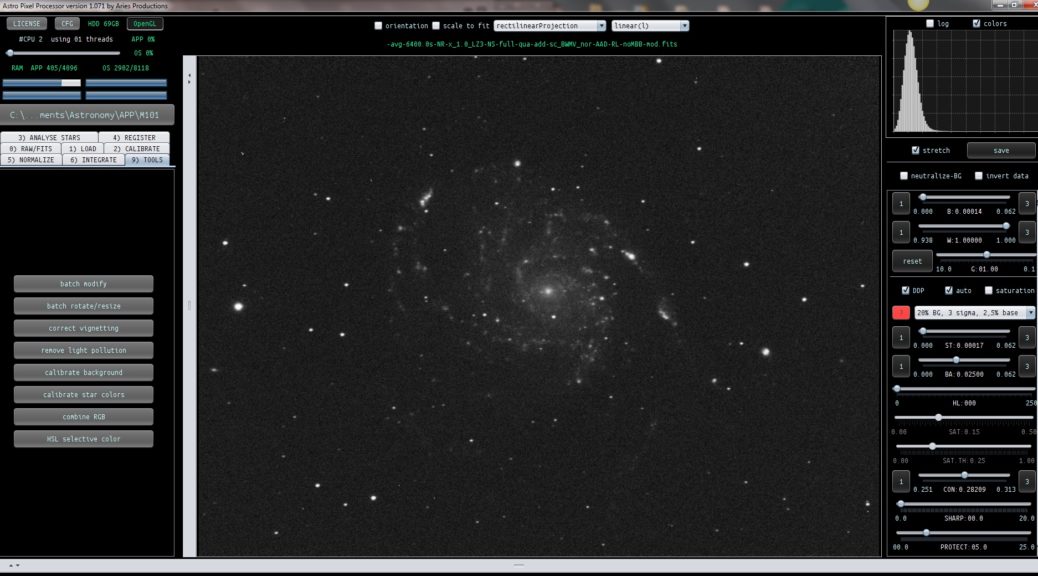
The question is always “How far do I increase the exposure?” You can always experiment. A good test is to keep the total integration time the same, in my case 60 minutes, but you can choose 30 minutes if you want to test a greater range of exposures in one evening.
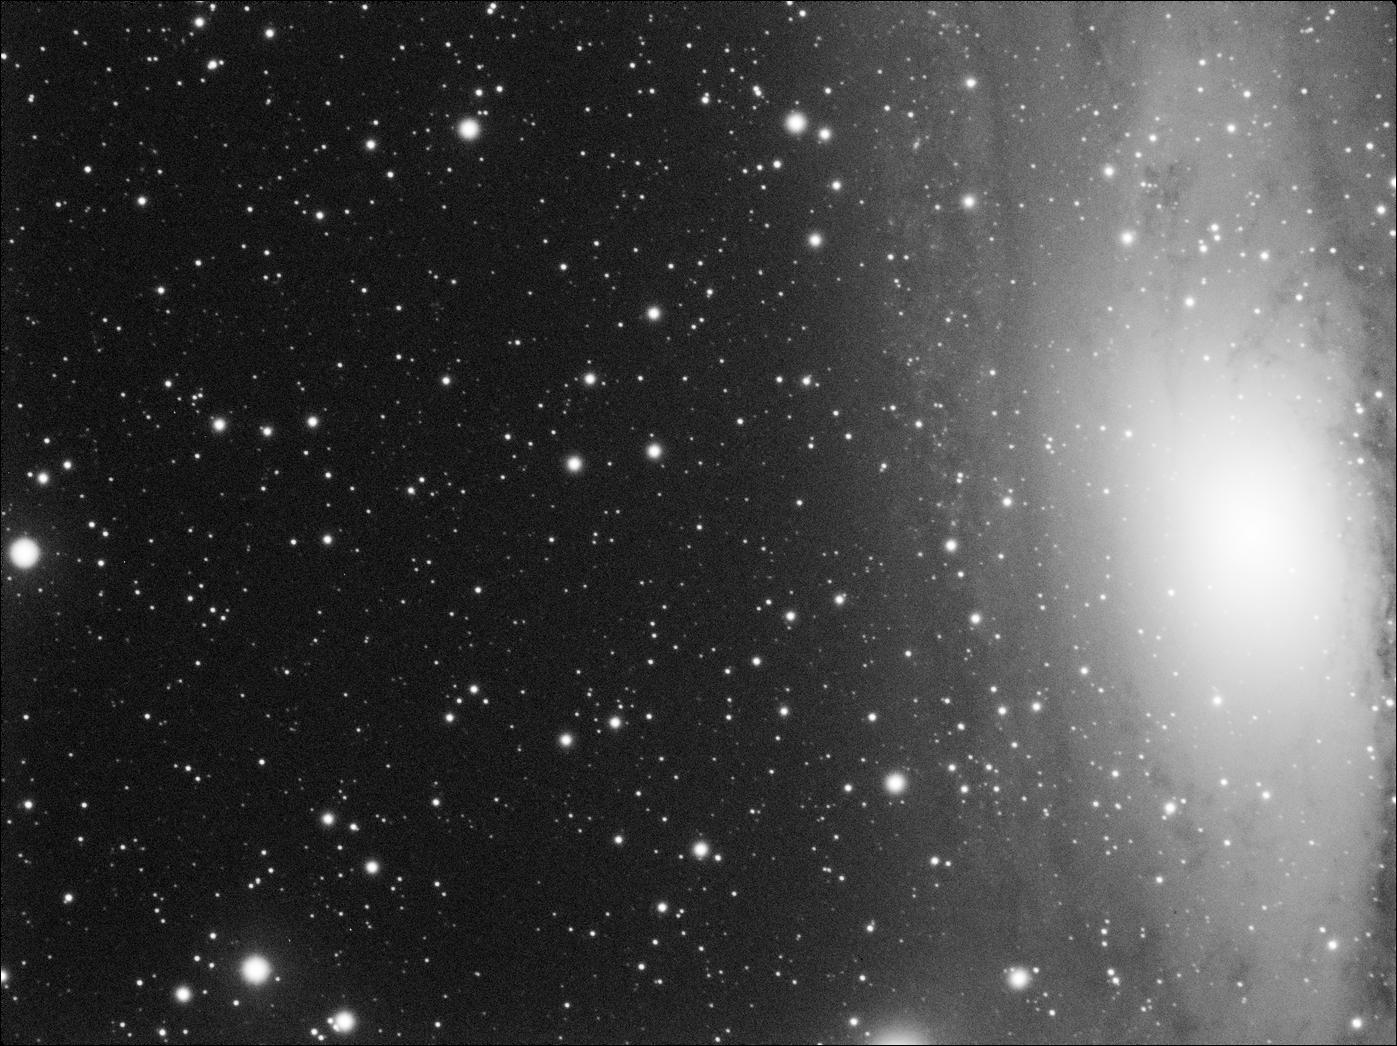
For the Altair 290M and my Bortle 5 skies it turns out that 30 seconds is optimal. You can increase it farther but image quality, signal-to-noise (SNR), won’t improve that much. You can decrease the exposure but then you will see a dramatic drop-off in SNR. If you decrease exposure too far then “raining noise” will rear its ugly head.
Of course the “optimal” exposure is completely dependent on your skies, your telescope, and camera.
The top image was taken with the Atik 314E using a 90-second exposure over 11.6 hours and LRGB filters. The signal-to-noise ratio is high due to the long integration time so comparing it to the bottom image is not entirely fair. The important point is that “raining noise” was never a problem. I chose a 90-second exposure because a CCD has higher Read Noise than a CMOS camera. I could have gone down to 60 seconds but below that the image would have suffered.