Color Images using only Red and Green filters
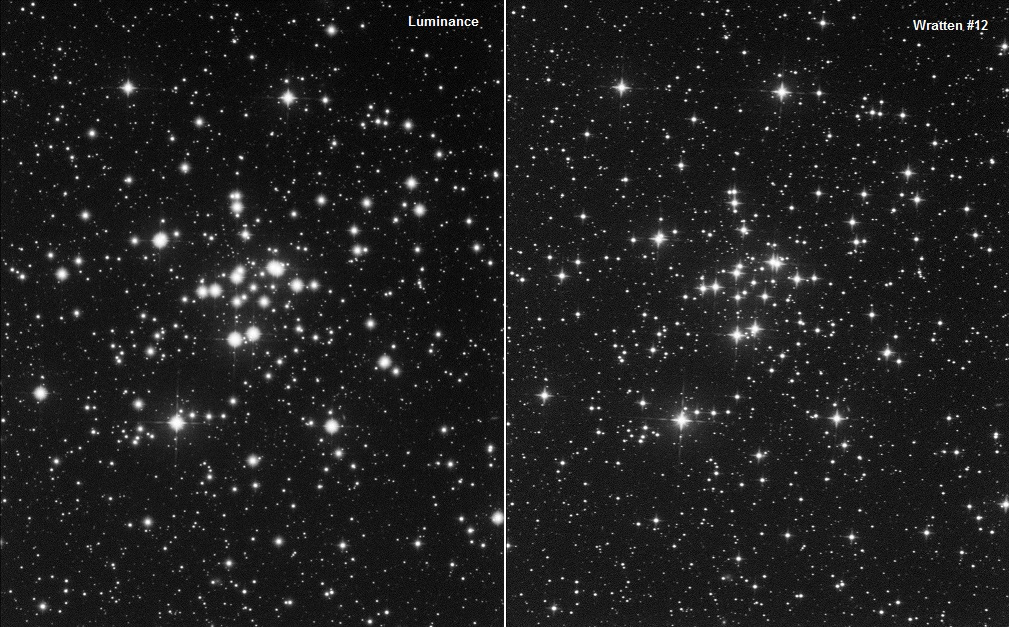
In my last post, I described how to capture tack-sharp images with my refractor by filtering out blue light using a Wratten #12 filter. The question remained: How can I capture color without blue?
The first thing to realize is that stars emit a continuum of colors from red to blue wavelengths. A red star strongly emits red light, but somewhat less blue. Likewise, a blue star strongly emits blue light, but somewhat less red. Green is sandwiched between red and blue. A red star is strong in red, less strong in green, and even less in blue. A blue star is strong in blue, less strong in green, and even less in red. We can take advantage of the difference between red and green to produce blue.
I borrowed a technique used in narrowband imaging. Narrowband filters are used for emission nebulae. Emission nebulae do not emit a continuum of colors. They emit discrete wavelengths. Most emission nebulae contain large amounts of hydrogen, varying amounts of oxygen, and some sulfur. The atoms are excited by the photons from nearby stars. Hydrogen emits several wavelengths but the prominent one is Hydrogen Alpha, abbreviated “Ha”. Ha emits light at the discrete wavelength of 6563 Angstroms. Doubly-ionized Oxygen, OIII, emits at 5007 Angstroms, and singly-ionized Sulfur, SII, emits at 6724 Angstroms. To the eye, SII is deep red, Ha is middle red, and OIII is bluish-green.
In narrowband image processing, it is common to assign SII to red, Ha to green, and OIII to blue. This is known as the SHO palette, made famous by the Hubble Space Telescope. SHO is also known as the Hubble Palette, but there are many other combinations that we can use. There is one called the HOO palette for cases where you only have Ha and OIII data. Exactly one year ago, I imaged the Tadpole Nebula in Ha and OIII. I used the HOO palette.
The HOO palette means that you assign Ha to red, and then split OIII, 50% to green, and 50% to blue. For my tastes, I am not fond of assigning 100% of Ha to red. It comes out screaming red which hurts my eyes. To soften it, I borrowed a technique from Sara Wager who splits Ha between red and green, and OIII between green and blue. The result is a pleasing reddish-orange for hydrogen and cyan for oxygen.
Now, getting back to the topic of this post. I only have data for the red and green filters, but I need to distribute it among red, green, and blue in order to make a color image. It sounds a lot like the HOO palette, doesn’t it? The solution is to split red filter data between the red and green channels, and to split the green filter data between the green and blue channels. It works remarkably well, although red stars appears slightly orange, and blue stars appear slightly cyan. All in all, I like the results. It gives me a way to breathe life into my refractor.
Technical details:
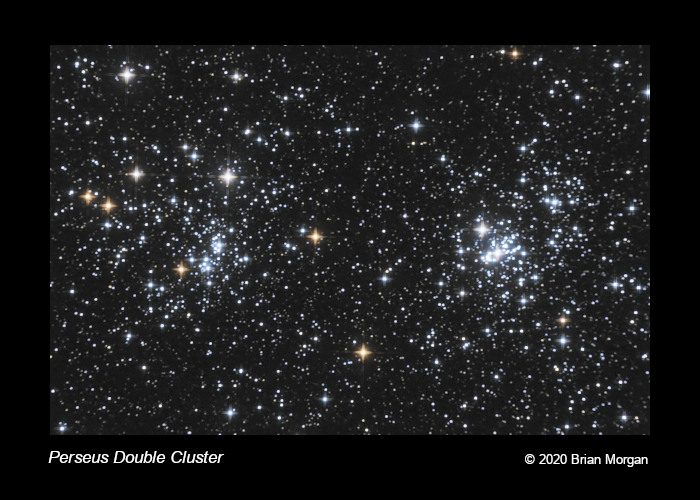
Perseus Double Cluster: NGC 869 and NGC 884
William Optics ZenithStar 71 Achromat
Atik 314E Mono CCD
GSO Wratten #12 filter as Luminance
Optolong Red and Green filters
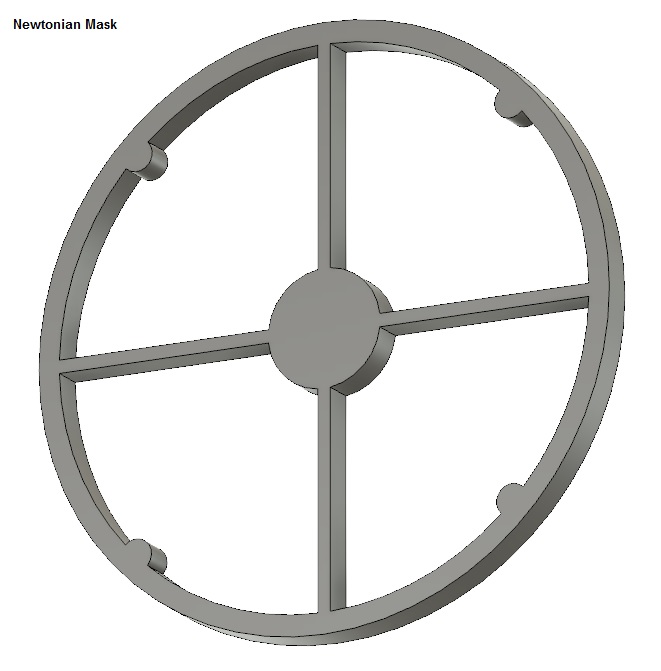
The Flatinator with Newtonian Mask
W12: 26x60s
R: 70x60s
G: 35x60s
Color Combine:
W12 => L
67% R => R
33% R + 33% G => G
67% G => B