Category: Open Star Clusters

Color Images using only Red and Green filters

Color Images using only Red and Green filters

In my last post, I described how to capture tack-sharp images with my refractor by filtering out blue light using a Wratten #12 filter. The question remained: How can I capture color without blue?

The first thing to realize is that stars emit a continuum of colors from red to blue wavelengths. A red star strongly emits red light, but somewhat less blue. Likewise, a blue star strongly emits blue light, but somewhat less red. Green is sandwiched between red and blue. A red star is strong in red, less strong in green, and even less in blue. A blue star is strong in blue, less strong in green, and even less in red. We can take advantage of the difference between red and green to produce blue.

I borrowed a technique used in narrowband imaging. Narrowband filters are used for emission nebulae. Emission nebulae do not emit a continuum of colors. They emit discrete wavelengths. Most emission nebulae contain large amounts of hydrogen, varying amounts of oxygen, and some sulfur. The atoms are excited by the photons from nearby stars. Hydrogen emits several wavelengths but the prominent one is Hydrogen Alpha, abbreviated “Ha”. Ha emits light at the discrete wavelength of 6563 Angstroms. Doubly-ionized Oxygen, OIII, emits at 5007 Angstroms, and singly-ionized Sulfur, SII, emits at 6724 Angstroms. To the eye, SII is deep red, Ha is middle red, and OIII is bluish-green.

In narrowband image processing, it is common to assign SII to red, Ha to green, and OIII to blue. This is known as the SHO palette, made famous by the Hubble Space Telescope. SHO is also known as the Hubble Palette, but there are many other combinations that we can use. There is one called the HOO palette for cases where you only have Ha and OIII data. Exactly one year ago, I imaged the Tadpole Nebula in Ha and OIII. I used the HOO palette.

The HOO palette means that you assign Ha to red, and then split OIII, 50% to green, and 50% to blue. For my tastes, I am not fond of assigning 100% of Ha to red. It comes out screaming red which hurts my eyes. To soften it, I borrowed a technique from Sara Wager who splits Ha between red and green, and OIII between green and blue. The result is a pleasing reddish-orange for hydrogen and cyan for oxygen.

Now, getting back to the topic of this post. I only have data for the red and green filters, but I need to distribute it among red, green, and blue in order to make a color image. It sounds a lot like the HOO palette, doesn’t it? The solution is to split red filter data between the red and green channels, and to split the green filter data between the green and blue channels. It works remarkably well, although red stars appears slightly orange, and blue stars appear slightly cyan. All in all, I like the results. It gives me a way to breathe life into my refractor.

Technical details:

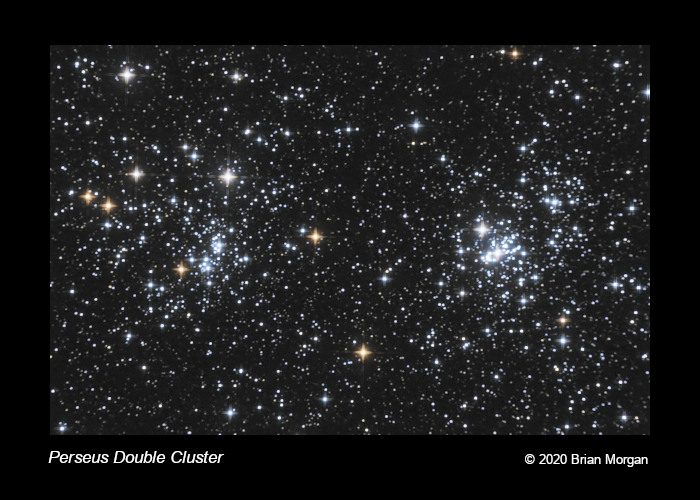
Perseus Double Cluster: NGC 869 and NGC 884

William Optics ZenithStar 71 Achromat
Atik 314E Mono CCD
GSO Wratten #12 filter as Luminance
Optolong Red and Green filters
The Flatinator with Newtonian Mask

W12: 26x60s
R: 70x60s
G: 35x60s

Color Combine:
W12 => L
67% R => R
33% R + 33% G => G
67% G => B
Star Clusters: M35 + NGC 2158

Star Clusters: M35 + NGC 2158

Fifty years ago when I became interested in Astronomy my first telescope was a refractor designed for lunar and planetary work. That first year Mars came closest to Earth. I was amazed to see land features and polar ice caps. Jupiter’s cloud system and four of its brightest moons were easily seen and Saturn was gorgeous.

When I turned my telescope to galaxies I was disappointed. People call them “faint fuzzies” for a reason: they are faint and they do look like fuzzy stars. I wanted to see what professional astronomers see with their large telescopes. I resigned myself to reality and gave up on them with the equipment I had.

One favorite target, besides the planets and the Moon, were star clusters. I dabbled in astrophotography using photographic emulsions like Kodak Tri-X and Spectroscopic 103a-E. Some of my best photographs as a teenager were star clusters.

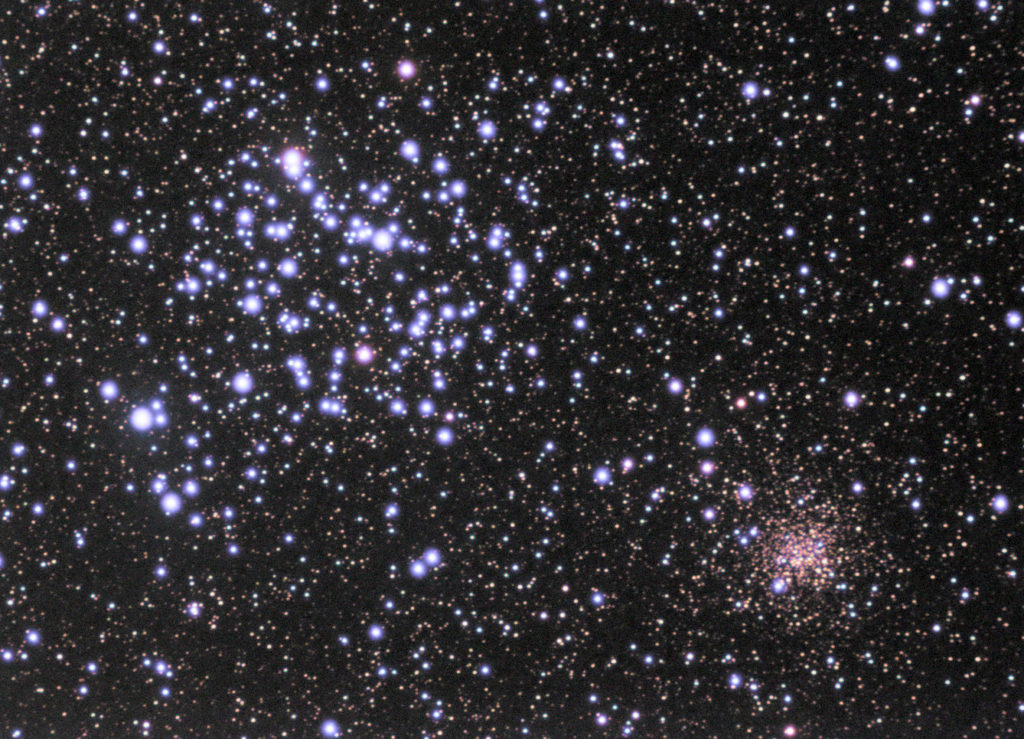
These days star clusters don’t get the respect they deserve. People do like the famous M13 Hercules Globular Cluster but that is the exception rather than the rule. I decided to try my hand at star clusters again with my new equipment. The great thing about star clusters is that they are bright compared to galaxies and nebulae, and because of that you can tolerate the Moon within reason.

Successfully imaging a star cluster requires a new set of rules. Your audience’s attention is focused on the stars themselves and because of that you want to avoid overexposing them as much as possible. When they reach overexposure they saturate the camera’s pixels and spill over to surrounding pixels. Eventually the surrounding pixels reach saturation and then spill over into more pixels. To me a saturated star looks unpleasantly large and unappealing. Sometimes, though, you can’t avoid some amount of saturation especially when there are many fainter stars that you also want to capture.

The technique I used is described here at my sister site: https://snrcalc.now.sh/help/open-star-clusters

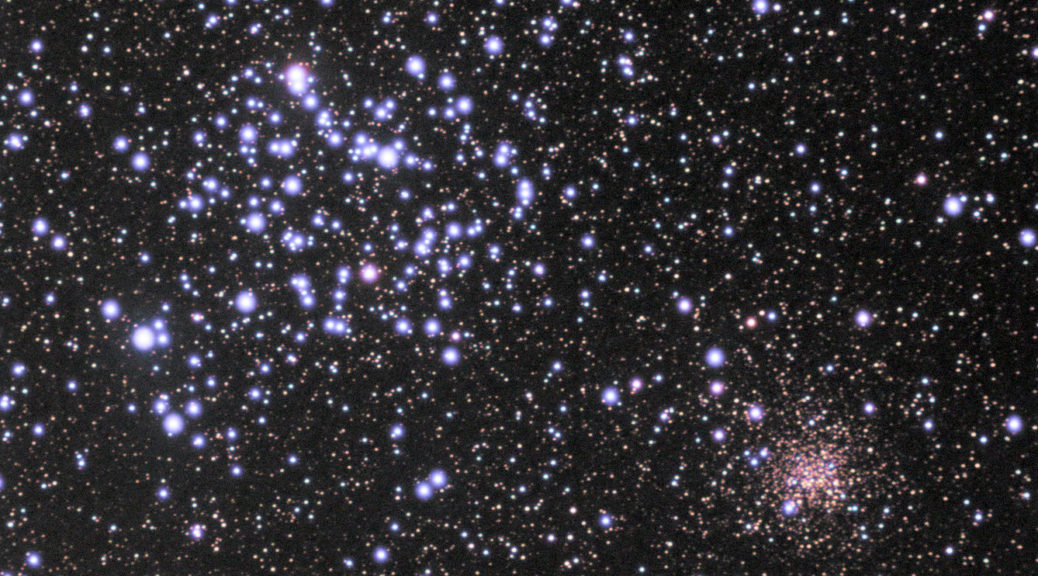
Open Star Clusters: M35 (bright blue stars) and NGC 2158 (faint red stars)

Telescope: William Optics ZenithStar 71mm f/5.9
Camera: Atik 314E CCD (Read Noise 5.3e-, Full Well Depth 13400e-)
Filters: Optolong LRGB
Mount: Unitron Model 152
Tracking: Self-designed R.A. stepper motor with PPEC on Raspberry Pi 3B
Image Acquisition: Astroberry INDI/Ekos on Raspberry Pi 3B+
Remote Guiding Assistance and Polar Alignment: SharpCap 3.1
Image Processing: AstroPixelProcessor (APP) version 1.076

Over three sessions:
L: 540x15s bin1, 2.25 hours
R: 300×14.3s bin2, 1.2 hours
G: 300×8.4s bin2, 0.7 hours
B: 300×13.0s bin2, 1.1 hours
Total Integration time: 5.23 hours

The odd-looking exposure times are due to how I color balance my RGB filters. In many cases this leads to an image that requires no further color adjustments but in this case the image was a tad bit green, so I used APP’s color calibration tool. Why this was necessary was a challenge to solve but now I understand. I designed a spreadsheet to solve the problem. Going forward I will use it as part of my image capture program.

NGC 6791

NGC 6791

Acquisition Date: June 18, 2018

This was my first attempt at color with a monochrome camera. It was a real learning experience.

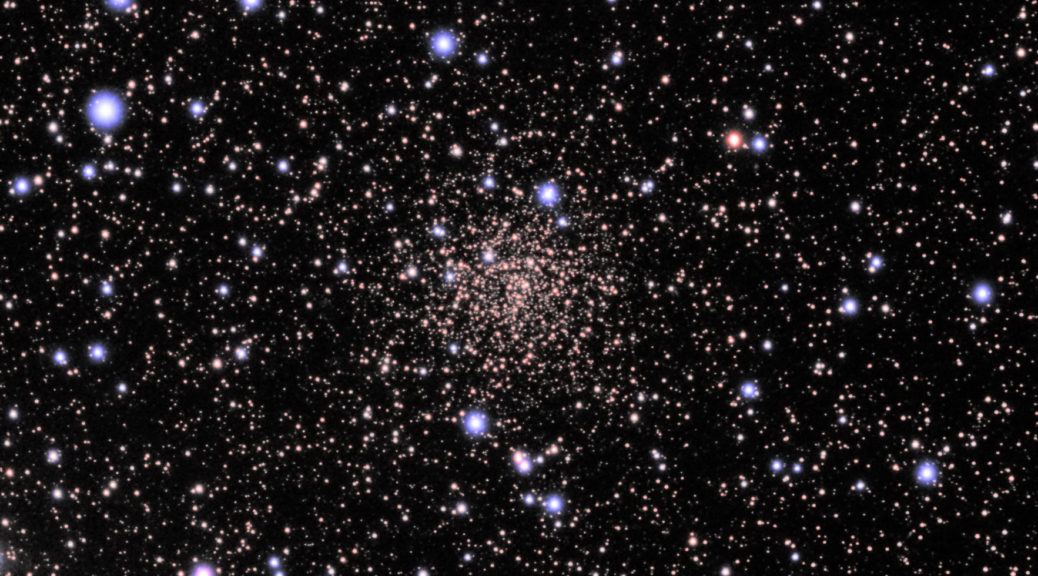
The image you see uses synthetic luminance which I created from the RGB stacks with the help of StarTools. A couple weeks earlier, I imaged in actual luminance but made the mistake of not taking the full suite of calibration frames. This failure affected its appearance so I rejected it in favor of synthetic luminance.

Factoid: NGC 6791 is an enigma. The stars are twice as old as our Sun but have an Iron-to-Hydrogen abundance ratio (metallicity) that is more than twice that of the Sun. This flies in the face of the rule of thumb that “older means metal-poor”. NGC 6791 is one of the most studied star clusters

Technical Details:

William Optics 71mm f/5.9
Altair 290M camera (uncooled)
Optolong LRGB filters
Unitron Model 142 GEM
Passive tracking with PEC
No active guiding

Gain 100 (FWD: 15ke-, 3.66 e-/ADU)
Offset: 20 ADU

Captured over 2 nights:
R: 80x 50s
G: 80x 50s
B: 80x 60s

Total integration time: 138 minutes

PIPP 2.5.9
Deep Sky Stacker 3.3.2
StarTools 1.3.5.289